I have only owned one overlocker, the Janome MyLock 644D. I had been sewing regularly for quite a number of years before I took the plunge and purchased it to finish garment seams. Previously, I had used a triple zig-zag stitch, bound edges, french seams or lined a garment to avoid finishing seams at all. Since purchasing the Janome Overlocker I have used it a bit, but not quite as much as I thought I would.
Purchasing the Overlocker
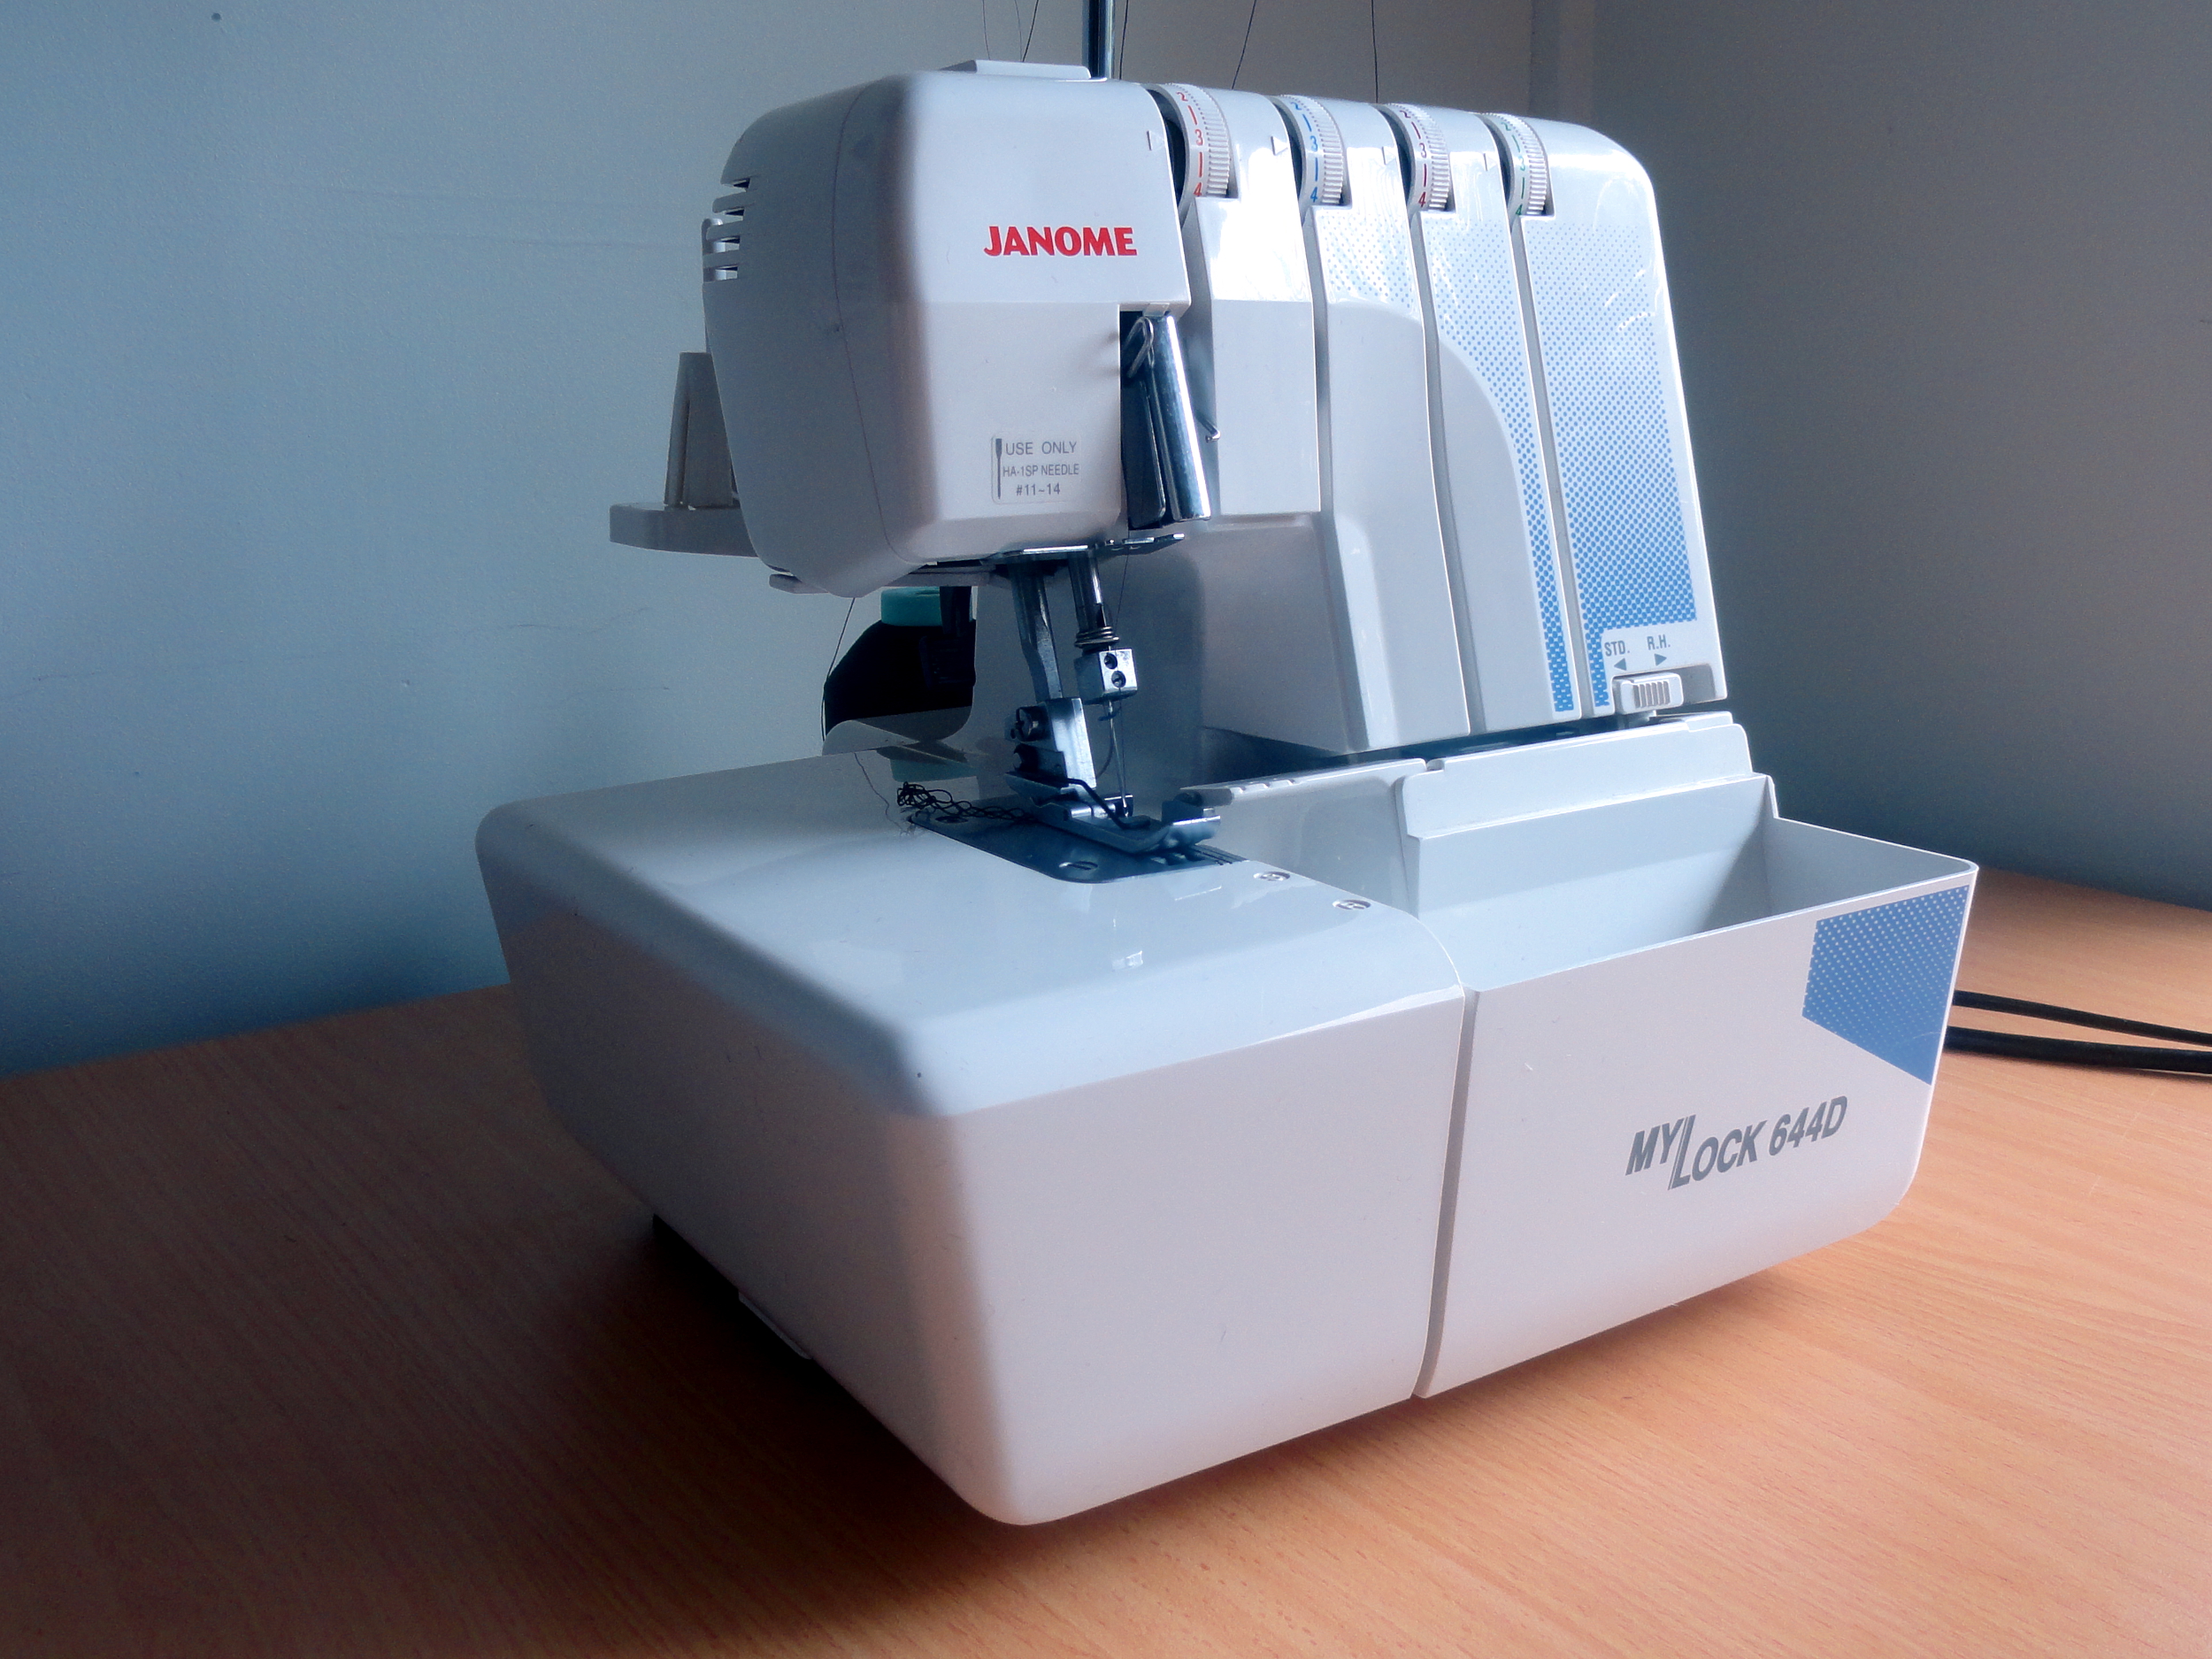
I bought my Janome MyLock 644D overlocker from Sue’s Sewing World (now called Jack n Jayde) in Adelaide, Australia in 2008. I have known the owner Sue for a number of years through the Australian Sewing Guild, so I was confident in her recommendation that this overlocker would suit my needs. I purchased it when Janome had a Mothers Day sale for AU$499. This included a lesson from Sue to get me started.
The Overlocker came with an instruction booklet, 100 pages long and is very comprehensive. I reference it quite regularly – when there are tension issues and when it’s time to be oiled. There was also a DVD that caters for the MyLock 744D and the MyLock 644D. I watched the videos a few times on how to thread the machine when I first bought the machine, but it’s been stored on the shelf since. As a bonus I got a Janome Overlockers Creative Sewing Guide, which I must admit I haven’t looked at for years.

The overlocker comes with an accessories box that sits in the waste catcher, which is removed when the overlocker is being used. The only accessories I use are:
- Tweezers: To thread the overlocker
- Large Screwdriver: To remove the needle plate and foot for cleaning and oiling
- Small Screwdriver: To undo needle screw when changing needles

Learning to use the Overlocker
As well as the lesson from Sue when I purchased the machine and the DVD, I have done a few overlocker courses. At Sue’s Sewing World I did a course where we made a cushion with lots of techniques like flatlocking, gathering, rolled hem, lace insertion and faggoting. Another at the WEA, an adult education centre in Adelaide that run a variety of short courses, called Overlocking for Beginners, which they still run. Sue has also shared her overlocking knowledge at my local Australian Sewing Guild meetings a few times over the years.
Along with lots of practice I am now a very confident overlocker user.
Threads for the Overlocker
I know there are some people who like their overlocker threads to match the fabric colour of their project. I’m not one of them. I use off-white for light coloured fabrics and charcoal for dark coloured fabrics. Only once have I veered outside of this, and that was when I sewed a hot pink pair of pyjamas for the dressmaking section of the Royal Adelaide Show. I knew the judges would be looking inside the garments so I wanted it to look it’s best.
When I bought the machine I purchased four 5,000m spools of charcoal Serafil (colour 1282), and four spools of off-white Serafil (colour 1000). At AU$19.80 a spool it was quite an investment at the time, but it has served me well. I’m still using them today, the charcoal more so. I don’t know if they will ever need replacing in my lifetime.
The Serafil is a very fine thread that over the years I’ve got frustrated with. The upper and lower looper threads would get snagged on my engagement ring when dressing. After some research and talking to Sue I learnt that woolly nylon is a great thread to use in the upper and lower loopers. Woolly nylon has a bit of stretch and also fans out a bit to cover the seam. I still use Serafil in the needle. I bought the woolly nylon for AU$28 a spool from Sue’s Sewing World. After sewing a pair of jeans and a knit cardigan using the woolly nylon, it has created a beautiful finish. They haven’t been worn much so I’m yet to decide if they have solved my problem.

The Serafil cones sit nicely on the spool holders at the back of the overlocker. The industrial sized woolly nylon cones have to be put on the table behind the overlocker because they are just too big for the spool holders. This can be a bit annoying as I do need to slide my overlocker regularly due to the limited space on my sewing desk.

Threading the Janome MyLock 644D
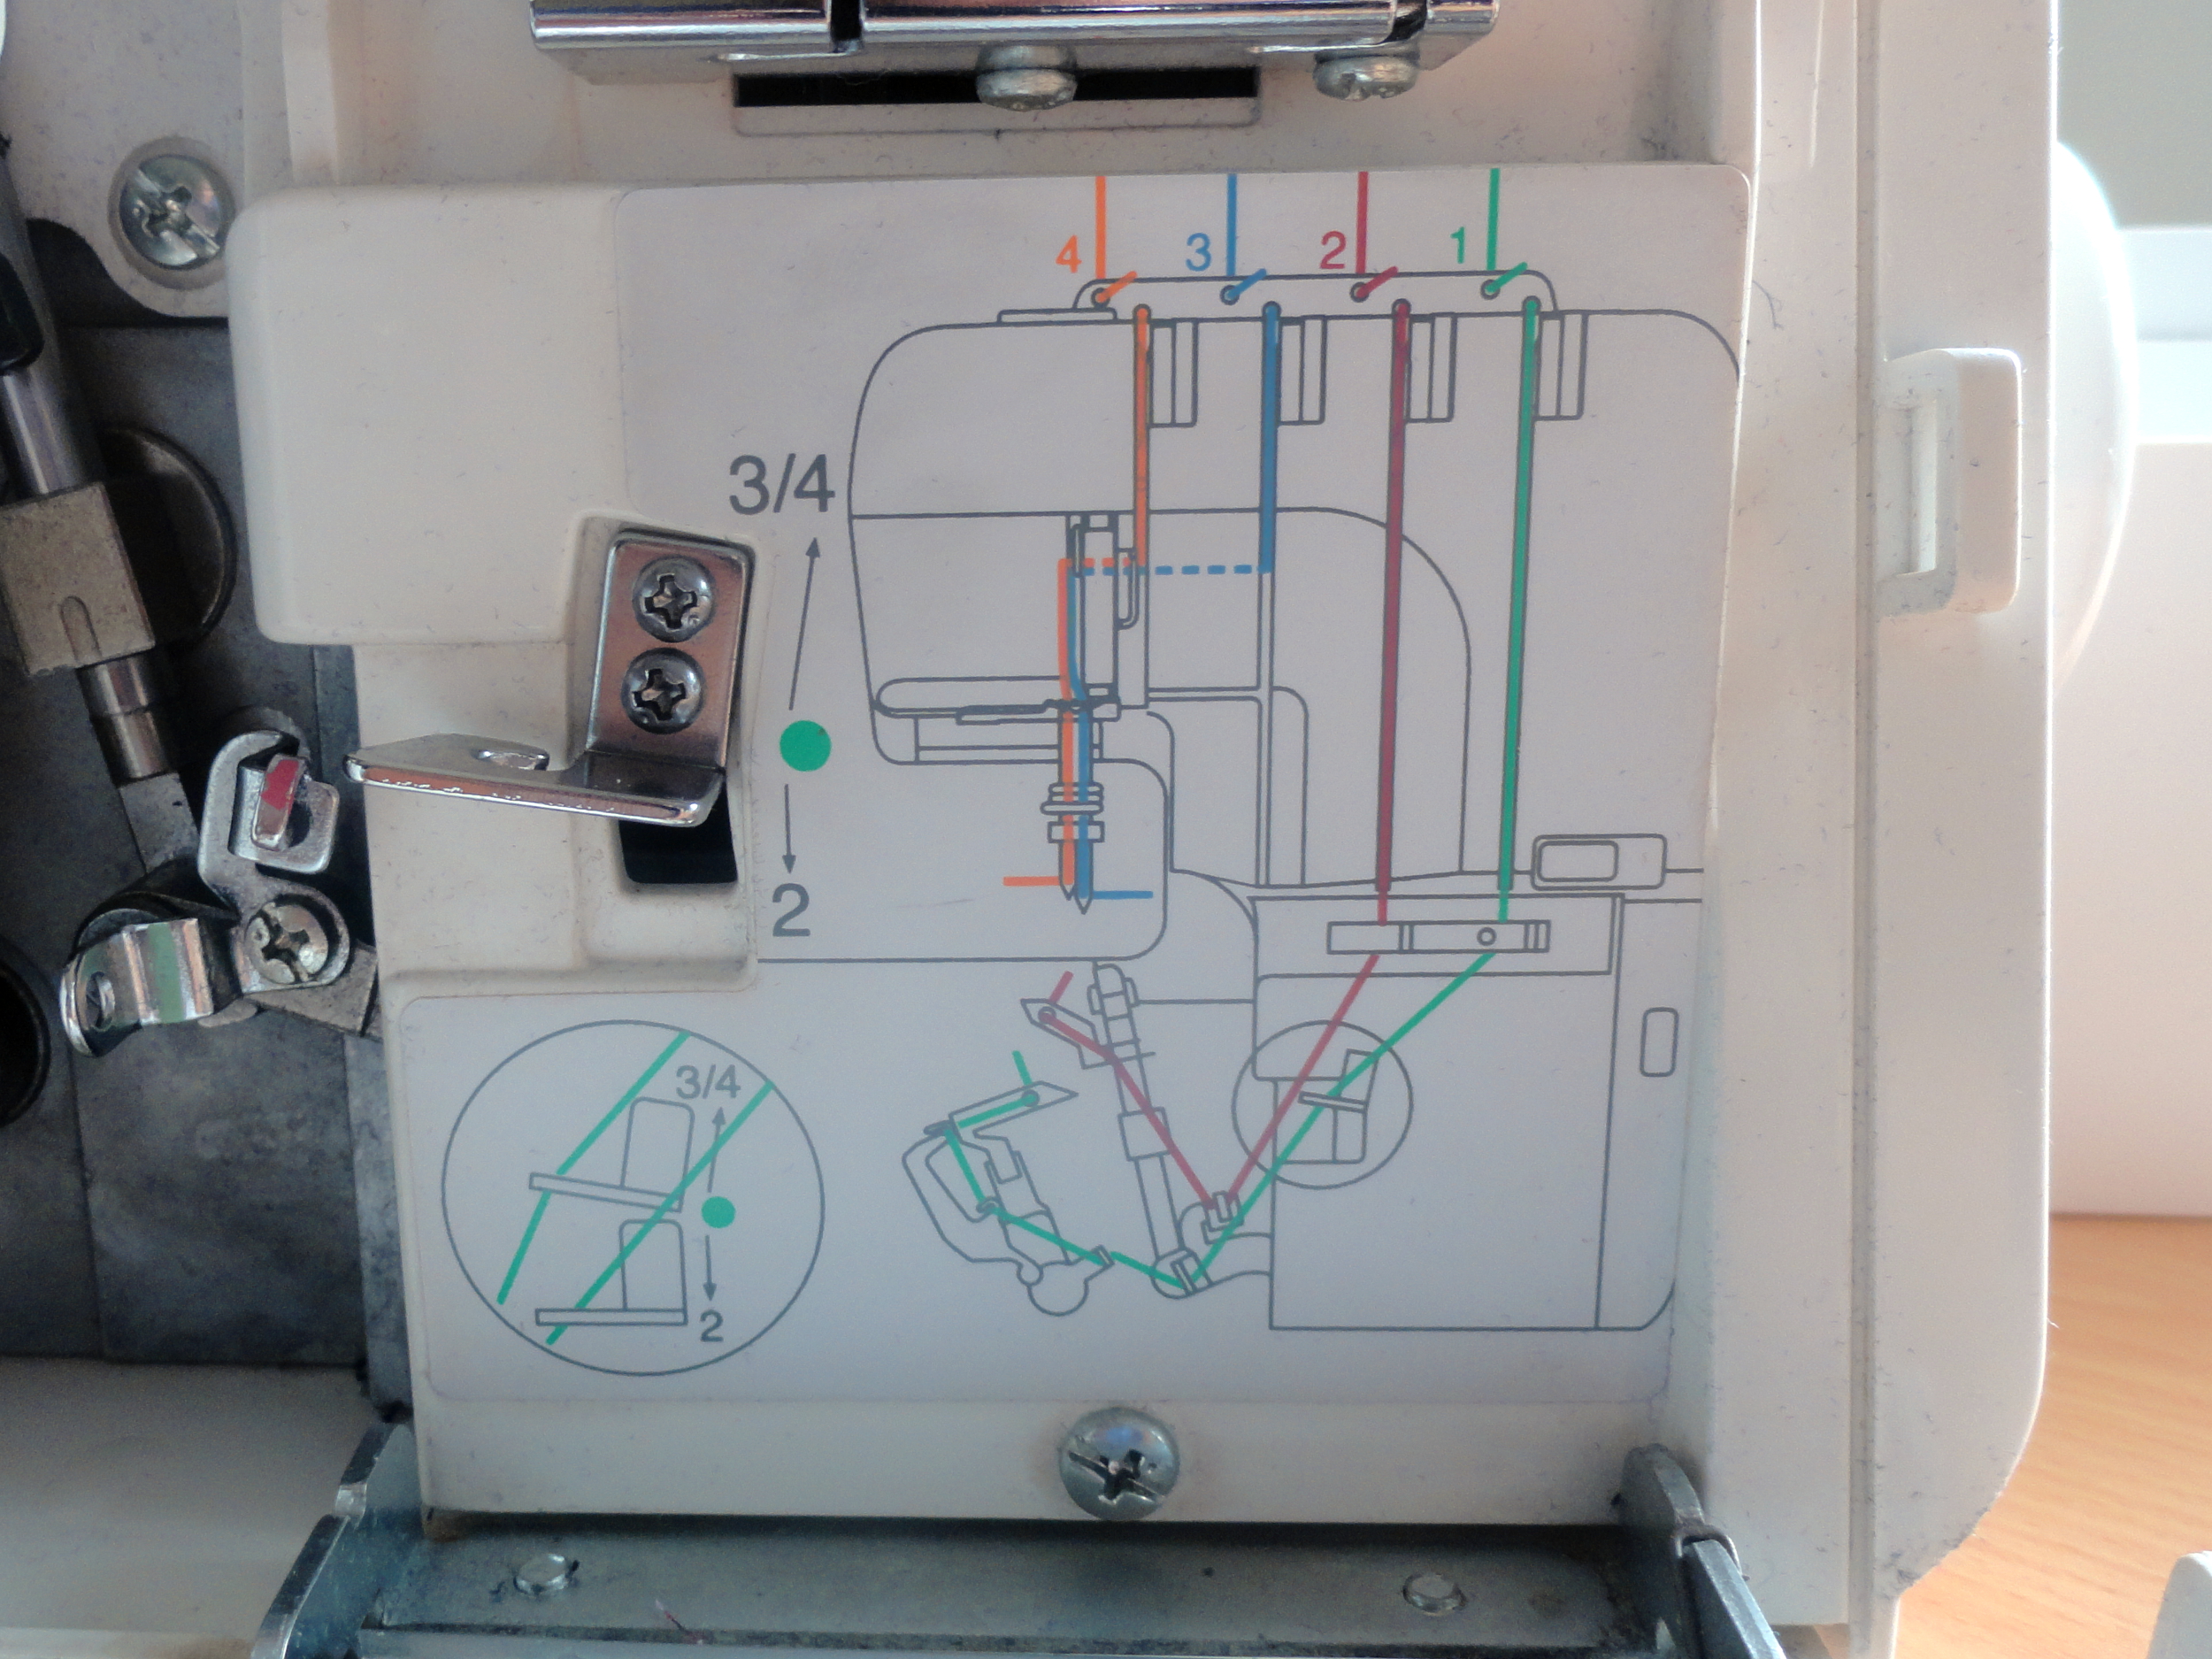
I’ll be totally honest, threading this overlocker is not easy. The DVD that came with the overlocker demonstrated this process, and I’m sure nowadays there are YouTube videos. When it’s time to thread I try to do it during daylight hours so I have plenty of light, and when I can’t be distracted. Underneath the front flap is a clear diagram of where each thread should go, and this definitely helps. The issue lies in having to thread through small holes and in very awkward places. So this is where the tweezers that came with the machine are so handy to have.
I’ve considered getting another overlocker so one is threaded in charcoal and the other in off-white, but I can’t justify the cost to purchase and maintain. And where would I store it between projects? I know there is a method of tying threads together and passing them through the machine, but I’ve never had any success.
Using the Overlocker
Umm, I have to admit I only use the overlocker to finish garment seams with three thread overlocking. I haven’t been brave enough to use four thread overlocking to sew the seam and finish the edge in one step. I much prefer to sew the seam on my sewing machine first, then finish it on the overlocker. I just feel more confident that if I need to unpick a machine stitched seam it is much easier than an overlocked stitch. I know there are plenty of YouTube videos to dispute me on this but it’s a mindset thing. I need to embrace a growth mindset on this!
In a recent sewing class I heard of a different rule on how to use overlocker – you use it only to cut a slight amount of the fabric. So if the seam is quite large you would cut it off with scissors first. This just seems ridiculous to me, why else is there a knife built in to the machine, but to cut off extra fabric? I’m definitely in the camp of using that knife.
Maintaining my Overlocker
Overlockers create a lot of fluff. Cutting the fabric while finishing a seam creates fluff and a strip of fabric. The Janome MyLock 644D does come with it’s own waste catcher, which I love. All the cut off fabric goes in there, and when it gets full I put the contents in the bin.
When a project is finished that is when I get a stiff paint brush to brush out all the fluff, being careful not to snag the threads, and potentially having to rethread the overlocker. This involves opening the cover at the front (where loopers are threaded) and the side cover (overlocker bed).


Every three projects, or when I need to change the threads I give it a thorough clean. As well as brushing out the lint, the entire surface of overlocker is cleaned with a baby wipe. This picks up the lint as it is slightly damp and then I can throw it away. Not the most environmentally friendly method, but I don’t want to use a cloth that is too damp.
At the same time I also oil the overlocker. The instruction booklet has clear instructions (on page 92) on where to place a few drops of oil. I will then hand wind the overlocker to spread the oil around, thread up the machine and then test with a scrap of fabric. Keep overlocking on scraps of fabric until there is no oil residue on the fabric.
Final Thoughts on the Janome MyLock 644D Overlocker
I am so happy that I finally purchased an overlocker, it has sped up the process for finishing seam edges. I don’t use it on every project as I still like to use french seams and bound seams. There was definitely a learning curve, especially on how to thread it. And I occasionally get frustrated when trying to get a balanced stitch on fabric I haven’t used before.
As a first overlocker I highly recommend it. Even a second hand MyLock 644D would be a great investment for garment sewers like myself. So many people I talk to have this machine, those who don’t have opted to go for self threading overlockers.
Want to know which Sewing Machine I own? Read about it here


0 Comments